Sunday, June 29, 2014
Adventures in: Bias Tape, Level 2: Make Your Own!
Well, no more! Learning to make bias tape was a great experience, and it's about as easy to do as it is to use. I first looked up these techniques in 2011, when I started working on an Elizabethan farthingale. I'm working on it again, for the next HSF challenge, even though a lot of things are conspiring against me!
As always, I turn to the internet for guidance. When I first started looking at it, it was many, many moons ago. Almost in the dark ages of the internet. At least it seemed that way. Honestly I don't really remember, it was a good 6 years ago now. I found (and still use) Coletterie's fab tutorial, though I don't square off the ends, and instead just line up the straight- or cross-grain sides and sew with a narrow seam (much like this tutorial, which also has an amazing folding technique to get the strips cut. I'm gonna have to try that!) It's very important to make sure, if you're not using fabric with an easily-indentifiable right side, that your strip will end up being, well, a strip, and not a square. Not speaking from experience, or anything (ahem).
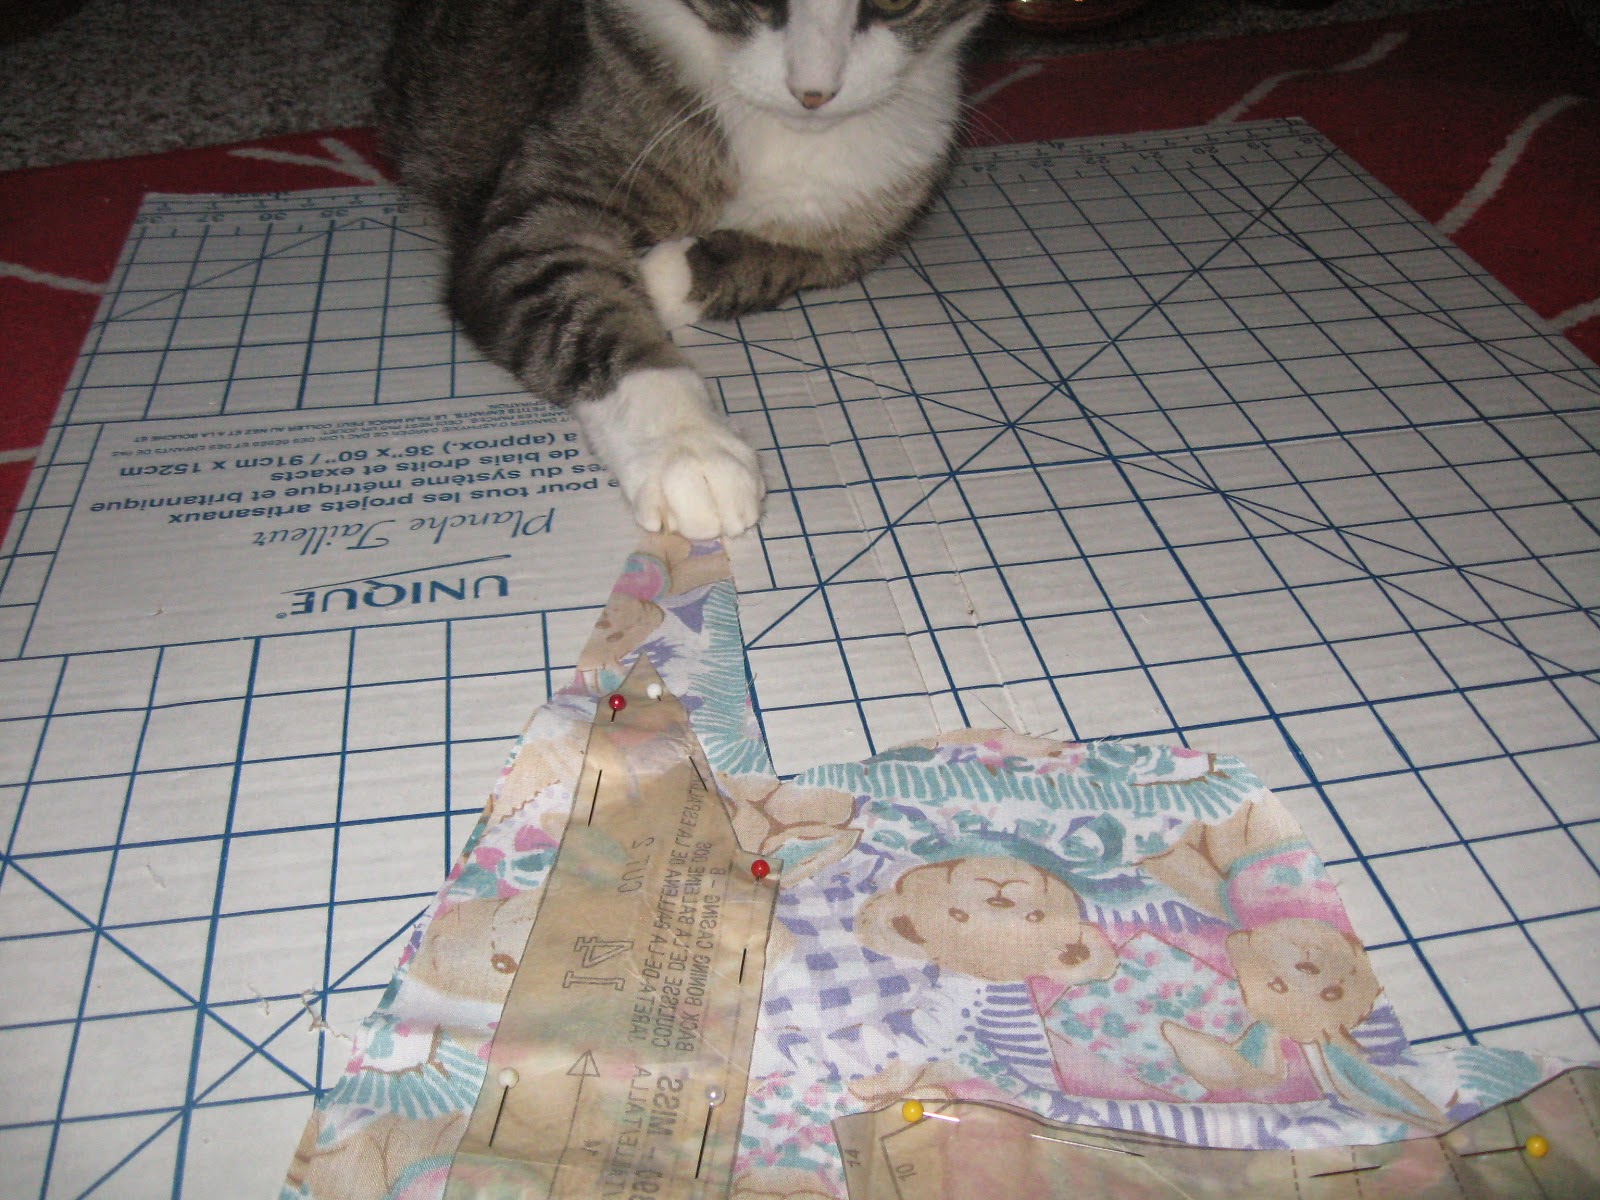
I made mine, this time, in a vaguely complicated manner. I have a cardboard cutting board with bias lines marked upon it, so I lined up a selvedge with the bias line and then made a bunch of straight marks (some of which weren't so straight), and cut them out. I started in a corner of the fabric and followed its bias to the selvedge, which was approximately 2 yards long. With 2" spacing, for a 1" finished width, I ended up with about 13 yards of tape! Wowee!
So now I had a very, very, very long strip of fabric. I don't have a bias tape maker. Luckily for me, I found this tutorial on making tape without one. It's probably even easier than using a thingamabobber.
All that's left is to pull 13 yards of bias tape through the pin and press it...
In the space of about 2 hours from when I laid out fabric to when I finished pressing, I had 13 yards of perfect bias tape. It's ready to go on my project!
Wednesday, June 11, 2014
HSF 10 & 11: Art and Politics of Fashion (The inspirations)
I would need to make an apron, neckerchief, shift cuff ruffles, and a wonderfully large hat. But I lacked numerous resources this spring, not to mention my usual habit of procrastinating for far too long. And then I caught my first plague of the year (a sinus cold) and decided that I wouldn't stress myself over a challenge. Not to mention, I live on the Prairies, and while I would be able to photograph my work against a lovely field in harvest, I would have to wait until September or October to truly emulate the painting. While that was not truly a dealbreaker, I took this challenge off the table. Perhaps I will revisit it this summer.
Two weeks ago, as I was relaxing after my usual Saturday morning activities but before I felt ready to tackle the things I needed for Sunday morning, I decided that maybe I would consider working on my challenge for #11. I've had this challenge planned since forever! I'm really excited to start on it. After reading so many blogs and seeing so many lovely variations, I wanted to make my own chemise a la reine.
I hardly need to introduce this gown. There are dozens of recreations, several references images, even a few patterns, and it's been featured in a couple movies too. Sarah of Mode Historique has been posting extensively about this iconic gown since early April, and has a few delightful recreations of her own. Some of my favourite dresses have been made by Katherine of The Fashionable Past/Koska-the-Cat, Asa of Fashion Through History, and Jen of Festive Attyre.
When I was doing the initial research a few months ago, I was a little discouraged. I had the perfect fabric picked out - 4-5m of handkerchief weight linen in a pretty green that I picked up for dirt cheap at a New Year's Sale (previously seen: HSF'13: 25 One Metre). But pretty much every true "chemise a la reine" - that is, the airy dress that is essentially a giant tube and gathered around the neck (waist optional, as it can be held in and controlled with a sash) - has been of white or off-white material. While there are fashion plate examples of coloured gowns, nearly all of them have a fitted back.
I'm still really new to this era, and a lot of the construction is a mystery. How does one construct a fitted-back, gathered-front gown? Jen's black chemise gown was a great inspiration to me - fitted back, with a sense-making front closure, and added bonus, she's collected a great number of fashion plate images on Pinterest. (Side note: I am so thankful and appreciative of the hard work so many of these wonderful women have put forth before me. I've been a long-time admirer of their beautiful work, and I can only hope that someday I can give back to the community in the same way.)
Though I see in the Pinterest plates now, there are a couple examples of loose coloured gowns, I am still aiming to construct a fitted-back gown. Mostly because I have been preparing for this for several months and I am eager to work on it in the way I've planned :)
My biggest obstacle so far has been trying to decide how to pattern the front. It seems pointless to put gathers all the way under the arm, so how does one control that? I'm taking inspiration from an adorable pierrot jacket that I unfortunately can't find the reference for, which is smooth under the arms, and only the front section is gathered.
Also an inspiration is this REDONKULOUSLY cute dress at the Glasgow Museums - Collections Navigator. This type of gown was the precursor of the transitional "round" and later Regency gowns, so this kind of construction makes sense. It seems very similar to this 1786 fashion plate. I don't have enough fabric to make a separate petticote, though, so I will be making a closed-skirted, front-gathered, fitted-back "round gown".
As of this posting, however, it's only a few days until the challenge deadline, and I probably won't make it in time. You see, I just went to my grandmother's memorial, and brought a cold back with me. I feel pretty rotten, but it's only started to settle in today, so we will see how the rest of the week goes. But it's also coming up on dance-recital time, which I need a costume for, visiting my other grandparents (hopefully) whom I haven't seen since last October, and planting a forest in memory of my friend Shell, all before Sunday. One of those weeks where things are just conspiring, you know how it goes. I will get it done sometime :)
Edit 6/12/14: Wouldn't you know it, that I would find my inspiration item the day after I posted that I couldn't find it?
Sunday, May 25, 2014
Adventures in: Corsetry (The Real Thing via A Very Long Post) & HSF'14 #2: Innovation
Besides, I was probably panicking about the "waste" the same way I panicked over the pink Georgian dress I made earlier this year. I have a lot more mad skillz now than I did the first time I made a corset. Besides, a single-layer corset, like this one, only takes half a yard. I have enough for another corset :) (I might try a straight-seamed corset after all, but first I have to find the first mock-up I made 7 years ago and rescue the busk!)
I wanted to construct this one a little more "professionally". Because I planned on topstitching the gussets in place like I did on the mock-up, first I had to open them, press back their seams, and then I used embroidery floss to overcast the points and corners. These will be weak spots where the fabric is stitched very close to the edge. Right away, I decided on a bright green to go with my thread. How fun is bright green on black?! It's not especially even (not to mention, my greens are totally different colours), but I don't mind. I don't plan on wearing it by itself, and I think people would be more stunned that I made it instead of buying it that they'll forgive a little lopsided stitching ;)
Why make a corset look pretty if no one is going to see it? I wouldn't say that no one is going to see it, per se... I just don't plan on wearing it as a fashion layer.
All of the seams are flat-felled for a clean finish :) Blinding flash included to show a little more detail lol.
Then came the scariest part, inserting the busk. Ooooh... Right way up this time! It's actually a lot easier than one might think, mostly I was scared of hitting the edge and breaking the needle. I had visions of it flying into my eye. This is why it's recommended to wear safety goggles! Luckily, I didn't break the needle and my eye is safe for another day. Hooray!
Setting the eyelets took the longest, partly because I now live on the second floor of an apartment building, and I didn't want to annoy my neighbours by hammering in a bazillion grommets. I took my backs (still separate from the fronts) to my friend's house and set them in her basement.
Then it was time to attach front and back, and give it another quick try-on. And then... they languished. For another 6 weeks. While I waffled on what kind of boning I wanted to use. I kinda remember this because I set all the grommets right before my last dance recital on April 13th, so it'd been sitting nearly as long. Whoops. Finally, this weekend I decided that enough was enough, and just finish the thing! (Also because I wanted to work on a costume that I didn't have nearly as many supplies as I needed, and then I wanted to work on a Victorian bodice and hey, I should really finish that corset...) I decided to go with the cable ties after all. I can always pull them out later if I change my mind. The other beautiful thing about this corset is that it is so lightly boned :)
And then we get to... the reason behind the name of my blog. A number of years ago I made a costume that I decided to bind. It was the first time I'd used bias tape as binding, and I announced to my roomies the night I started that I was off to have adventures with bias tape. It was quite an experience that I've never fully recovered from LOL. Now I think of "adventures with bias tape" every time I pull it out to sew with it again.
I have a number of packets of bias tape, and I waffled on which one to use while I sewed up the last few seams (flat-felling the side seams and finishing the short channels at the back). I had nothing that would work with bright green, and the only blacks I had were either single fold or wide quilt binding. I should just make some, I thought, but what black fabric did I have that I could use? In the end, I used the wide quilt binding cut in half lengthwise. It was almost 4" wide folded out! I don't really need pre-pressed binding anyway, and the centre fold became (more or less) the edge of my fabric. I started with the bottom, sewing it to the back first, then folding it around to the front and stitching it down. I decided to use black thread to keep more focus on the up-and-down lines.
Then it was time to put in the boning. This was both extra-complicated and really really easy. The really really easy ones were the channels that were wide enough to just slip 3/8" boning straight into, easy as pie. The extra-complicated ones were the centre back, on the outside (corset) edges of the grommets. My channels ended up being exactly 3/8" wide, when the cable ties, which are thick, need 1/2". Yikes. I fought my way through it anyway, and it took FOR-EV-ER. I even restitched the edge of one channel to make it easier, and I still ended up pulling some stitches in the tight spots. I eventually resorted to being able to getting a little fabric bunched up along the tie, put the encased end under my heel, put pressure on it, grabbed the top of the fabric and pulled. It took like, 45 minutes just to do those two channels. Yikes. Make sure you leave enough room in your channels!
But once that was done, I was very excited! I wanted to try it on again before binding the top to make absolutely sure! This would be my last chance to make any changes. So back in went the lacing, and then I tried it on. And I just realized how utterly dusty my mirror is. Eep.
I was super excited. The waist is a little tight, but when I measured it, it's tighter than I normally lace anyway. I would definitely even up the back if I was going to wear it for more than a few minutes, naturally. But overall, I was pleased. There is a top-to-bottom bone near the side that I was a little concerned about, but it sits on the outside of the hip and should not aggravate my injury. I tried a skirt on, and even though the front sticks out really far, it's not very noticeable when dressed and should be nearly invisible with a petticoat or two. I do want to try hand-bending the bottom of the busk inward, as well, but this is fine for now. I was really pleased with the lift and roundness of my "girls". I am really excited in the near future to give this bad boy a "real" run, and wear it for several hours!
When I took it off, I thought, maybe I will take a break for a bit and then finish up. But self, I said, all you have to do is bind the tops. Literally. That's it. And they're about the same length as the bottoms, it won't take hardly any time at all. For once, I listened to that little voice and I sat down to bind the top. It really felt like, for several harrowing minutes, that this would be the moment where everything went wrong. The bottom binding had been easy, but that was probably thanks in part to being unboned at that moment. There were bones in place now. Some of them were dangerously close to the edges, having crept up during the trying-on, and hard to push down thanks to the narrow channels. The only thing that went really wrong was cutting the binding a bit too short, and stabbing myself with a pin. And once I pulled the last of it through the machine and cleaned up all the threads, I was overjoyed. All I need to do now is lace it again, and just wear it. It's done. It's totally, 100% done. DONE. What a great feeling!!
Since I've not been terribly concerned with lateness so far, and this was meant to be my #2 challenge anyway, here's the HSF info :)
The Challenge: #2: Innovation (due Feb 1/14)
The Innovation: 2 part separating busk
Fabric: 100% cotton coutil
Pattern: Simplicity 2890
Year: 1860ish
Notions: thread, floss, bias binding, busk, 2-part grommets, heavy-duty cable ties.
How historically accurate is it? In shape, and hardware. Fabric is iffy, poly thread and floss and binding deeeefinitely not.
Hours to complete: Uhm... a lot, and yet, not so many. Maybe 12 hours?
First worn: Not yet.
Total cost: The busk cost roughly $10-12, the coutil was given to me (but I know it was $25/yrd, and I used 1/2 yard), and the rest came from the stash. The project cost in the $30-40 range, but the total cost to me was more like $15.
I didn't do like, any research on busks that was worth sharing. What I do know is that up until the 1830s, corsets were generally closed-fronts with a wooden busk down the front. The separating busks appears on museum corsets in the 1850s or so, and is still the standard in use today. It's an especial boon for those of us who tend to live and costume alone, as it makes getting dressed much much easier!
Tuesday, May 13, 2014
Is there an echo in here?
Here's a look at things I want to post about or accomplish in the near future:
-Two completed and at least one upcoming HSF challenge
-Game of Thrones cosplay + tutorial
-Anime cosplay
-Hopefully some "wardrobe" entries to flesh out the page and my "resume", so to speak.
-The progress of the corset
-Updating my side bar...
I went to my first con of the "season" two weekends past, Calgary Comic & Entertainment Expo. I hadn't intended to go until about two weeks before it started, when they announced a guest I simply HAD to see. It was an amazing weekend, filled with friends and fun and delicious food. I made a Game of Thrones Shae-inspired gown, which I was calling "whore I mean handmaiden" gown since it could be easily adapted for whores as well as handmaidens :) My next con is in just a couple of days, of which I am busily sewing for, so I will blog about them after the long weekend!
I have no picture for you today, but let me tell you how much my cat is sassing me, now that the weather is above freezing (4 days a week, anyway. Really now, sort-of-northern Canada, it's MAY) and I can leave the patio door open a bit. He thinks he should be allowed outside on to my teeny tiny deck and chase all the songbirds!
Thursday, May 1, 2014
Blog Award!
The Rules:
First, thank the blogger who has nominated you: Thank you Nessa! (Nessa was the first follower of this blog that I didn't personally know :) I'm sorry it took so long. I'm so touched! Thank you again!)
Second, nominate ten other blogs you adore and notify them of the nomination: This took the most amount of time, because of the quantity and also that the blogs should have less than 200 followers. I read lots of blogs! Lots of well-read blogs! I dug a bit for the first instance of this award and the number of followers varied - anywhere from 200 to 3000. Since historical costuming is relatively small, I'll stick to 200 followers or less :)
- Costumes by Ophelia Ophelia has THE most perfect Edwardian hair ever.
- Beauty from Ashes I know you want some more Edwardian perfection. Especially check out Gina's Titanic Ruth DeWitt Bukater Boarding Dress with approximately a mile of soutache braid!
- Tarnished Thimble My dear cousin Tina is making her first steps into historical costuming and I am so proud. I only wish we lived closer together!
- The Bohemian Belle Stunning Regency dresses!
- Mouse Borg Designs I LOOOOVE the GIANT HAT OF DOOOOOOOOOOOM they made last year. I also have a soft spot for Canadian bloggers, being from sort-of-northern-Canada myself :) (Did I tell you that winter lasted a legit 6 months? CUZ IT DID.)
- Frolicking Frocks Natalie's Gibson Girl ensemble is just perfect, and her 1840s dress is also what inspired me to finally venture into that decade myself :)
- A Dedicated Follower of Fashion Amanda's curtain-along/dress-in-a-day is what made me love the Waverly Felicite curtains in black. So pretty. And she hand-sews everything.
- WyldeHills Costuming I just loved reading about/seeing her Faire costumes, especially this year's Pink challenge!
- So Steady As She Sews Admittedly I was mostly amused that we both made -panniers for the Pink challenge this year. But look at that goregous hanbok!
- Teacups Among the Fabric She reminds me of my mom, definitely the source of my current love of costuming :3
1. Tell me about your first costume in all it's awesome and potentially awful detail :D Share a picture if you have one/want to! 2. How would you describe your sewing "style"? (For example, I'm a night-owl deadline-pusher.) 3. How about your sewing companions of the furry variety? If you don't have pets, a non-essential object you just can't be without. (I'm trying to kick my slurpee habit...) Share a picture! 4. Do you have a sewing "ritual"? What is it? (I like to watch movies! And by watch, I mean "listen to") 5. How about a sewing "outfit"? (I have a "Serious Dress" that gets busted out when it's time to crunch that deadline!) 6. How does your family/friends take your sewing? 7. I'm sure you get a ton of compliments when you're out and about in costume - share your favourite :) 8. How far have you travelled for a costumed event? OR - how far would you be willing to travel for a costumed event? 9. If you had any advice for a newbie, what would it be? 10. How has historical costuming changed your life?
And fourth, answer the questions you received from the one who nominated you:
1. What is your favorite historical period? The bustle years of 1870-1889 :3
2. How long have you been sewing, and how did you get into it? I've been sewing for about 20 years this year, and I think I initially got into it because I wanted costumes to wear to conventions. I didn't enjoy it for almost 10 years though, until I found a Japanese fashion style that was running at $300+ for one dress (still is) and I thought it was too expensive (still do!) and I could sew so why not just make it myself? I started branching into historical costumes almost immediately after.
3. Which historical person would you like to meet and why? This is really tough to answer. I think perhaps some of the early Egyptologists, or maybe the early paleontologists. How awesome would it be to be at hand during the discovery of King Tutankhamun's tomb? SO AWESOME.
4. Do you have a favorite kind of fabric you enjoy working with? I really like natural fibers: linen, cotton and wool. I have a particular preference for fabric that doesn't "shred" on me.
5. What will be your next project? Besides my HSF projects and some cosplay, I really want to make a bunch more Regency gowns or an all-cotton print Victorian dress.
6. Which place, in space and/or time, would you love to travel to? Oh gosh, I want to go back in time and watch and study dinosaurs doing dinosaur things. I saw a program once that said that a Tyrannosaurus Rex had the average intelligence of a house cat, and I look at my cat and picture a T-rex doing cat-things, and it's the most hilarious images. Seriously, right up to being tied to the front of the house on a harness and leash, rolling around, chasing the bunnies... Can you just see it?
7. Where do you wear your sewing creations? Are you a regular at historical events or do you sew it just for yourself? There's not a lot of events happening locally that aren't part of the small living history site, or part of the steampunk group, so I mostly invent my own reasons to wear something out and do that :) It definitely helps having friends who don't mind you dressing up, or better yet, dress up with you!
8. Do you have a favorite clothing item, historical or modern? I kind of love my bustle. I love that my butt can announce itself around a corner.
9. What is your favorite book? Gosh, do I have to pick just one? I'm not as voracious a reader as many people I know, or as much as I used to be, but I still have too many books to pick just one! Can we just be friends on Goodreads instead?
10. What are your other hobbies? I write novels, bake, watch Japanese and/or Korean dramas, and belly dance :)
Thanks for reading! <3
Tuesday, April 8, 2014
Adventures in: Corsetry (The Mock-Up)
One final bit of history: As I was browsing blogs one day, I had an epiphany. I was reading Quinn's post on her new corset, she referenced one of Merja's corsets. Merja's is so stunning (all of her work is!), but especially in the idea that only the waist is compressed, and the corset shape (and gussets) allow for the body to be moved into its new positions. And then I realized, that while the boning patterns are different on each one, there was no boning over the back of the hip. That is where the fit of my previous corsets was the worst, and this realization was like a lightning bolt. I eagerly searched museum collections for period corsets with gores and boning patterns similar to these, and that was when I decided to give gusseted corsets another try.
Before the bedbug spray in February, I was going to use the scaled pattern from Fashions of the Gilded Age Vol. 1. I'd drafted the pattern and made a mock-up already, but when I went to find the pieces last week, I could only find the back. I knew the pieces had ended up in different places, but I thought I knew where most of them were, and they'd all disappeared. But it was a very similar shape to Simplicity 2890, so I thought I could lengthen the pieces an inch and a half or so and see how it worked. I decided on the inch and a half measurement by using the appropriate scale from Fashions, and comparing it to my busk length. It was a good length for that busk, so I went with it.
I decided to follow the steps given in the instructions at least for now, and see how I liked them. The very second step wants you to put the gussets in right sides together and then somehow turning it out? I hate doing gussets like that. I tried it on the first mock-up and it was awful. Instead, I turned the seam allowances back on the corset body along the marked lines, then marked the seam lines onto the gussets, and top stitched them in place. Much easier. Check out Merja's corset link above for another way to do lapped seams. I skipped flat-felling for now.

Folded to the right side because it was the easiest.
The final version will have flat-felled seams on the inside.
After that I decided to construct it very differently from the instructions. I applied bias tape in place of bone casing. I put the busk into place (upside down!) while the fronts and backs were still separate. I did the back next, using a selvedge edge in place of turning the facing under and creating a casing for the second bone. Then I did the side seams, and finally punched holes for the eyelets. I was going to set one-piece eyelets into place but my test one didn't turn out, so I said "meh" and just left the hole edges raw. Finally, it was time to lace it up and try it on!
Not bad, not bad at all :) There was a lot of weirdness happening with the boning, for numerous reasons. First, I used large zip ties. Most of these are in the uncut 36" length. It came coiled up, and I think putting the curl outwards helped collapse the fabric around my waist. Second, I had stitched across the bottoms of most of the channels to avoid having to cut the threads and start new seams. Bad idea. For the second mock-up, I opened those up, and turned the boning so the curl went inwards instead and pushed them to the tops of the channels so that all the excess curled around my legs instead. I left more of the full-body picture in the back version so you can see how short this thing is! I added all the extra to the bottom since I have a petite bust point, and the corset supports the ladies well enough that I didn't feel it necessary to raise the back. I also have it sitting a little low here; after taking these pics, I hiked it a bit higher and found it more comfortable, but of course I forgot to take a picture of that too.
Now, I want to talk about the side profile:
I drew in a couple lines to help show it better. The top, short line is the side seam of my camisole (more or less at the side of my body). The longer line is the rather dramatic curve of the side seam. It sits right at my side around the chest, and as it gets to my waist and belly, it pulls far forward. You can also see how the point of the corset sits nowhere CLOSE to my body (thanks, family genetics!), but this should be fine for sitting down. I tested it at this stage, sitting down on the couch. The point goes into the gap at the top of my lap and it shouldn't dig into my legs at any point. I also want to attempt to force the busk to curl a bit more inwards, but since I installed this upside down, I didn't attempt it. I neglected to take pictures of the second fitting but I added a triangular insert at the side, with the straighter side of the triangle facing the back so that the "meat" of the triangle was at the front. That helped with some of the wrinkling at the waist, which I think will be further alleviated with a better material.
I was really excited to try out cable ties as a boning alternative, but I'm not convinced that THESE cable ties are the right ones. The first set I bought came in a straight package so they weren't all curly, but those weren't available when I bought the new ones. I think I definitely want to put steel in at the lacing so maybe some curly bones wouldn't be so bad in the non-essential seams? Or maybe try the store with the non-coiled ties again and get more? I have some time to ponder that, as getting steel bones will require either ordering some (early May at best), or raiding them out of the Corset Story corset (potential length issues).
Next up: The real corset!
Sunday, April 6, 2014
Adventures in: Corsetry (A Personal History)
A year or two later, I started making my first real corset. I made it more to say I did. I used the now-out-of-print Simplicity 7215, a gusseted corset. I would not recommend this type of corset for a beginner. I started making it with some mystery polyester, but ended up having to put it on hold for a long time until I could get a busk and boning and other sundries. It was 2005 or so when I finally was able to order a kit from Farthingales with the pieces I needed. I watched a lot of football (Canadian football runs until the end of November). I was very glad I lived in a basement apartment with a concrete floor. I cut myself very badly getting the roll of boning open. I had to stretch my finger for months before I got full movement back, and I also have a cool scar :D
I was pleased with the result - I made a corset! BOOYAH! It never fit me well. You can see here, the front right gusset is too wide, and I always had a large, somewhat uneven gap. I wore it once in 2006 and then I did not wear it again until 2009. By then, I had gained 30-40 pounds. My gap was even larger and more uneven. The front gusset was still too large. I might have been able to make it work except that the outfit I was wearing was also one I had made 30-40lbs ago, and I had no time to make a new one, so I had to make it work. I wore the corset for about 8 hours and then absolutely could not wear it a moment longer. I had deep welts in my skin for several hours afterwards.
After that, I purchased a corset from Kitty & Felix, which was too long (it digs into the tops of my legs), and one from Corset Story (bought to waist measurements, and had to alter the bust, but it fits me poorly in other areas too). Neither was ideal in terms of fit, though both are very well-made. I bought a waist cincher from Kitty a year later, and as she was fitting me, she told me that my rib cage is sized more like someone 4-5" taller than I am. Since I have to buy long-torso swimwear, this made a lot of sense! Most off-the-rack corsets I see are very hour-glass shaped, which I am not. My best option to find a corset that fits all of my parts is to either to custom order one ($250, minimum), or make it myself. Since $250+ is out of my budget, I guess I have to make it myself.
2012. Corset-Story, being held into better fit with pins (fixed in 2013)
I spent some time waffling over a pattern. I was going to use Truly Victorian's pattern because, as a straight-seamed corset, it would be the easiest. But the more I waffled, the more I resisted the idea. My two purchased corsets were straight-seamed, and while I would be able to manipulate the fit better, I always found them uncomfortable. I've mentioned it before, I have a lower back injury, and the straight-seamed corsets always pull around the hips and I feel it in the injury site. The more I thought about it, the more I thought I might have better luck with a gusseted corset. I gave away the pattern I made the blue corset from since it was WAY too small, and it was discontinued some time ago anyway.
Simplicity made a new pattern, 2890, with a gusseted corset. I found a reference to it being the same as 7215, but I don't think that's strictly true. The front hip gusset is a different shape, and the boning pattern is different. I was going to make it for an HSF challenge earlier this year, but that didn't happen. I made the mock-up and discovered it was REALLY short. Like, really really. It didn't even cover my belly. And then I realized that my busk was longer than the pattern! Of course, I put this project off until it was too late to change patterns or do more mock-ups, and ultimately had to put the challenge aside completely.
I was inspired to start working on it last week, and today I started working on the final version. This is getting long so I will finish this story in another post :)
1770's Riding Habit
I'm not precisely sure when I decided that I needed a riding habit, but once the idea was there, it needed to happen. It's been on ...
-
I really like having the challenges posted well in advance, allowing for planning. And procrastinating. And changing my mind because I proc...
-
Phew, this gown is taking a really long time! I've been really excited to work on it all month and I have been whenever I've had fre...
-
Shortly after David Bowie's death earlier this year (I won't go into how much his death affected me -- I "met" him at all ...