Tuesday, April 8, 2014

Adventures in: Corsetry (The Mock-Up)

I knew this time that making a mock-up was essential. It's not my favourite thing to do, but it really is an important step, especially for such an important garment. I want this to be as comfortable as my regular clothes.

One final bit of history: As I was browsing blogs one day, I had an epiphany. I was reading Quinn's post on her new corset, she referenced one of Merja's corsets. Merja's is so stunning (all of her work is!), but especially in the idea that only the waist is compressed, and the corset shape (and gussets) allow for the body to be moved into its new positions. And then I realized, that while the boning patterns are different on each one, there was no boning over the back of the hip. That is where the fit of my previous corsets was the worst, and this realization was like a lightning bolt. I eagerly searched museum collections for period corsets with gores and boning patterns similar to these, and that was when I decided to give gusseted corsets another try.

Before the bedbug spray in February, I was going to use the scaled pattern from Fashions of the Gilded Age Vol. 1. I'd drafted the pattern and made a mock-up already, but when I went to find the pieces last week, I could only find the back. I knew the pieces had ended up in different places, but I thought I knew where most of them were, and they'd all disappeared. But it was a very similar shape to Simplicity 2890, so I thought I could lengthen the pieces an inch and a half or so and see how it worked. I decided on the inch and a half measurement by using the appropriate scale from Fashions, and comparing it to my busk length. It was a good length for that busk, so I went with it.


The back is... pretty close, actually.


With the extra length added on, 1.5" in front, 1" in back.

I decided to follow the steps given in the instructions at least for now, and see how I liked them. The very second step wants you to put the gussets in right sides together and then somehow turning it out? I hate doing gussets like that. I tried it on the first mock-up and it was awful. Instead, I turned the seam allowances back on the corset body along the marked lines, then marked the seam lines onto the gussets, and top stitched them in place. Much easier. Check out Merja's corset link above for another way to do lapped seams. I skipped flat-felling for now.


Marking the seam allowance.


Folded to the right side because it was the easiest.
The final version will have flat-felled seams on the inside.


Pinned...


And top-stitched! Much easier :)

After that I decided to construct it very differently from the instructions. I applied bias tape in place of bone casing. I put the busk into place (upside down!) while the fronts and backs were still separate. I did the back next, using a selvedge edge in place of turning the facing under and creating a casing for the second bone. Then I did the side seams, and finally punched holes for the eyelets. I was going to set one-piece eyelets into place but my test one didn't turn out, so I said "meh" and just left the hole edges raw. Finally, it was time to lace it up and try it on!


Not bad, not bad at all :) There was a lot of weirdness happening with the boning, for numerous reasons. First, I used large zip ties. Most of these are in the uncut 36" length. It came coiled up, and I think putting the curl outwards helped collapse the fabric around my waist. Second, I had stitched across the bottoms of most of the channels to avoid having to cut the threads and start new seams. Bad idea. For the second mock-up, I opened those up, and turned the boning so the curl went inwards instead and pushed them to the tops of the channels so that all the excess curled around my legs instead. I left more of the full-body picture in the back version so you can see how short this thing is! I added all the extra to the bottom since I have a petite bust point, and the corset supports the ladies well enough that I didn't feel it necessary to raise the back. I also have it sitting a little low here; after taking these pics, I hiked it a bit higher and found it more comfortable, but of course I forgot to take a picture of that too.

Now, I want to talk about the side profile:


I drew in a couple lines to help show it better. The top, short line is the side seam of my camisole (more or less at the side of my body). The longer line is the rather dramatic curve of the side seam. It sits right at my side around the chest, and as it gets to my waist and belly, it pulls far forward. You can also see how the point of the corset sits nowhere CLOSE to my body (thanks, family genetics!), but this should be fine for sitting down. I tested it at this stage, sitting down on the couch. The point goes into the gap at the top of my lap and it shouldn't dig into my legs at any point. I also want to attempt to force the busk to curl a bit more inwards, but since I installed this upside down, I didn't attempt it. I neglected to take pictures of the second fitting but I added a triangular insert at the side, with the straighter side of the triangle facing the back so that the "meat" of the triangle was at the front. That helped with some of the wrinkling at the waist, which I think will be further alleviated with a better material.

I was really excited to try out cable ties as a boning alternative, but I'm not convinced that THESE cable ties are the right ones. The first set I bought came in a straight package so they weren't all curly, but those weren't available when I bought the new ones. I think I definitely want to put steel in at the lacing so maybe some curly bones wouldn't be so bad in the non-essential seams? Or maybe try the store with the non-coiled ties again and get more? I have some time to ponder that, as getting steel bones will require either ordering some (early May at best), or raiding them out of the Corset Story corset (potential length issues).

Next up: The real corset!

Sunday, April 6, 2014

Adventures in: Corsetry (A Personal History)

Corsetry is something I have always struggled with. The very first time I attempted a real historical outfit (waaaaaaaay back in 2003), I hadn't quite latched on to the notion that one needs proper undergarments. I did make a half-hearted attempt at it, buying a modern waist cincher from a lingerie store, full of spandex and plastic boning. This was also at a time when I thought $2/m broadcloth was a perfectly acceptable fabric to use as an outer layer. The only day I wore it out it was freeze-your-Winnebago cold, and no pictures exist of it that I'm aware of. I think I am glad!

A year or two later, I started making my first real corset. I made it more to say I did. I used the now-out-of-print Simplicity 7215, a gusseted corset. I would not recommend this type of corset for a beginner. I started making it with some mystery polyester, but ended up having to put it on hold for a long time until I could get a busk and boning and other sundries. It was 2005 or so when I finally was able to order a kit from Farthingales with the pieces I needed. I watched a lot of football (Canadian football runs until the end of November). I was very glad I lived in a basement apartment with a concrete floor. I cut myself very badly getting the roll of boning open. I had to stretch my finger for months before I got full movement back, and I also have a cool scar :D


2005-2006

I was pleased with the result - I made a corset! BOOYAH! It never fit me well. You can see here, the front right gusset is too wide, and I always had a large, somewhat uneven gap. I wore it once in 2006 and then I did not wear it again until 2009. By then, I had gained 30-40 pounds. My gap was even larger and more uneven. The front gusset was still too large. I might have been able to make it work except that the outfit I was wearing was also one I had made 30-40lbs ago, and I had no time to make a new one, so I had to make it work. I wore the corset for about 8 hours and then absolutely could not wear it a moment longer. I had deep welts in my skin for several hours afterwards.


2009

2009. Blurry but you can see how bad my gap is and how poorly it fits!

After that, I purchased a corset from Kitty & Felix, which was too long (it digs into the tops of my legs), and one from Corset Story (bought to waist measurements, and had to alter the bust, but it fits me poorly in other areas too). Neither was ideal in terms of fit, though both are very well-made. I bought a waist cincher from Kitty a year later, and as she was fitting me, she told me that my rib cage is sized more like someone 4-5" taller than I am. Since I have to buy long-torso swimwear, this made a lot of sense! Most off-the-rack corsets I see are very hour-glass shaped, which I am not. My best option to find a corset that fits all of my parts is to either to custom order one ($250, minimum), or make it myself. Since $250+ is out of my budget, I guess I have to make it myself.

 photo pinnedcorset_zpsdfcd5d49.jpg
2012. Corset-Story, being held into better fit with pins (fixed in 2013)

I spent some time waffling over a pattern. I was going to use Truly Victorian's pattern because, as a straight-seamed corset, it would be the easiest. But the more I waffled, the more I resisted the idea. My two purchased corsets were straight-seamed, and while I would be able to manipulate the fit better, I always found them uncomfortable. I've mentioned it before, I have a lower back injury, and the straight-seamed corsets always pull around the hips and I feel it in the injury site. The more I thought about it, the more I thought I might have better luck with a gusseted corset. I gave away the pattern I made the blue corset from since it was WAY too small, and it was discontinued some time ago anyway.

Simplicity made a new pattern, 2890, with a gusseted corset. I found a reference to it being the same as 7215, but I don't think that's strictly true. The front hip gusset is a different shape, and the boning pattern is different. I was going to make it for an HSF challenge earlier this year, but that didn't happen. I made the mock-up and discovered it was REALLY short. Like, really really. It didn't even cover my belly. And then I realized that my busk was longer than the pattern! Of course, I put this project off until it was too late to change patterns or do more mock-ups, and ultimately had to put the challenge aside completely.

I was inspired to start working on it last week, and today I started working on the final version. This is getting long so I will finish this story in another post :)


This is mine. ...Right?

Sunday, March 30, 2014

HSF '14: #6: Fairytale: Beauty and the Bees-t

While I was angsting about the lack of ability to get the dress pattern I wanted, I posted to the Facebook event in the hopes that someone might have a better idea where to find the kind of information I was hoping for. I got a link to a really fabulous page of fashions! I was particularly taken with the houndstooth dress in the second-last picture. So adorable!

My chosen fairytale was, as I mentioned previously, initially going to be a Disney-inspired Tudor Snow White, but that was very ambitious in terms of time and money. Then I remembered that I had a better inspiration - one of my favourite fairytales, Beauty and the Beast, and also a novel I wrote in 2012. I set it in 1940-1943 England, where my "Beauty" was sent to the countryside to live with her aunt and uncle to escape the Blitz, and meets her "Beast", a fairy-enchanted werewolf. I was torn between a few scenes, waffling between one where she meets him for the first time, or perhaps when they attended a dance in Southampton. I thought I would keep my options open, and see what the internet might be able to bring to me.


But then, when I was typing up my last entry, I decided to try googling again. I really wanted to keep the aesthetic of the 1940s even if I couldn't have a truly authentic piece for lack of the pattern. I would have been happy with even some pattern diagrams to at least get the seam-placements right. I found a dress or two that I liked well enough to attempt, plus I already had a pattern that was similar that I had made up before and really liked. And then, via Google and Pinterest, the perfect webpage dropped into my lap.

Behold, Very Easy 1939 Dirndl Dress Pattern. While from a year before my heroine went to the country, she is precisely the kind of character to re-wear things a year or two out of fashion, especially a piece she made herself. (Check out the rest of the blog too, there's some other adorable vintage patterns I'm excited to try out at some point in the future!)


My next google search took me to try and find a collection of novelty prints from the 1940s. Since I just got 50+lbs of fabric (I think it's a lot closer to 80lbs, actually; I weighed my second haul and it was less than I took the first time and came in at 30lbs!) from my mum, I was just hoping to find "close enough". I settled on this adorable garden flowers and bees print. (For reference, here is the page I looked for fabric inspiration.)

I'm still fighting with myself on motivation, even though I feel so much better than I did a month ago, so it took me some time to finally sit down and do this. And because February was so short, I forgot I had a little extra time! Even so, it took an extra day or two to get the fabric washed, and then waiting for it to dry since the dryer wasn't working so good and it came out wet..

This project really took too long for a dress that is basically rectangles. When I measured myself against the given measurements, 9" for a bodice seemed quite short, so I added 2" which then ended up being 2" too many! I'm not overly happy with the dart placement or overall fit, but since I spend a large portion of summer lounging around the house, this should make a fantastic house-dress!


I don't know why it doesn't close on my mannequin... her bust is smaller than mine!


It's very high on the back, and beneath the arm, which might be alleviated by fitting over proper undergarments or by cutting an armhole, though the pattern is intended to have a selvedge edge all the way around.

The Challenge: #6 Fairytale
Fabric: 100% cotton
Pattern: Very Easy 1939 Dirndl Dress Pattern
Year: 1939
Notions: Thread, buttons, hook and eye, snaps
How historically accurate is it? Pattern, check! Fabric content, check! Fabric pattern, poly thread, construction techniques... less check.
Hours to complete: 6+ (Could probably get it down to a few hours if one has clean selvedges)
First worn: Not yet (it's -13C still! Brrrrr)
Total cost: Free!

Saturday, March 22, 2014

March "What's in the hopper?"

I am still struggling with issues related to motivation, and partly feeling like I shouldn't be using my sewing machine after 9pm but that's when I'm most productive (it's like this while writing too). My building is very quiet and I don't want to disturb my neighbours. Clearly I need more hand-sewing projects ;) This will be a little bit of a stream-of-consciousness post, so I apologize if it gets a little rambly.

HSF

I've got a Regency spencer in the works that just needs a few finishing touches. It will be an entry for one of last year's challenges :D It mainly needs buttons. I had a moment this afternoon as I went "AHHHH I HAVE NOT BUTTONS" and then remembered I had a large tray full of buttons? It has nothing that I want to use, however. So that's still on the table.

The next challenge due is Fairytale, to use one's favourite fairytale as inspiration. At first I wanted to do a Tudor Snow White as I had a dream about it a few years ago and it would be utterly stunning if I could pull it off. Then I decided that it was A: too ambitious, given my track record, B: too expensive, and C: Where would I wear it? So instead, I chose to toot my own horn a little, and do a take on Beauty and the Beast, from a novel I wrote in 2012 for NaNoWriMo. I set it in 1940's England, so it would absolutely fit within this year's timeline. But I'm in the middle of Very Big Things (tm) (and also, not really, but Big Enough (tm)) that prevent me from purchasing the pattern I wanted to get to make it. I'm still searching and Googling my heart out, trying to find a way to alter a modern pattern into a "good enough" situation. Historical accuracy has never been my focus, and even though I've been sewing for close to 20 years, pattern manipulation is still a point I need a lot of work on.

Oh gosh, in the midst of writing this, I found a great pattern for free. That's very exciting! Expect a post on that soon!

I've got several of the next few challenges planned too, right up through mid-summer :D A little cap, a UFO, a riding habit, and a new corset are all on my plate for the future.

Other

I'm starting to realize that it's about 6 weeks until my first major con of the year, and it's primarily a cosplay con. I have one costume in the works for that, but I need to decide on another one to make.

My mum recently decided to clean out some of her fabric stash, so she gave my sisters and I permission to haul away anything she didn't want :D There were some fabrics that had been purchased while my sisters were children (they are in their 20s now) that she never got around to making garments for them. While I think my stepdad was hoping for more fabric to leave, we still left - all three of us - with at least 50lbs of fabric each. My sister's little 2-door Yaris was so full! I need to start cataloging my new stash and deciding on projects :) My Very Big Things (tm) are also currently preventing me from being able to wash it, and there's quite a few cottons in there that need to be washed first (not to mention some of them were stored in cardboard boxes in a basement for who knows how long). I'm quite excited to dig in.

Which does make me wonder, a bit, about how much historical accuracy I want to pursue. Some of the prints are very modern but would make utterly adorable Regency gowns, or short gowns, or Victorian pieces. How much do I want to adhere to "the rules"? It's never been my focus - some of my earliest forays into historical costuming were through the SCA, and 16-year-old me was just horrified that anyone would be heavily criticized for not strictly adhering to "historically accurate" clothing. Thirty-plus year old me knows this is not strictly the case, but it's still something I struggle to wrap my mind around. Sure, that lovely Indian-inspired print is gorgeous, but it's not "accurate enough". How much do I care? On one hand, I care a lot! On the other, screw that noise! I need to find a balance in my mind where I am happy with fabric and prints vs. being "accurate".


Hi Mum... this wool is very lovely.

Sunday, March 16, 2014

HSF '14: #5: Bodice: Complete!

Gosh, I can't tell you how pleased I am that this is completed. I'm really glad I decided on this one, and I'm REALLY glad I saw it through to the end! And it is done! I still have to do all the trimming, but I could absolutely put this on right now and go to a ball this very moment, no pinning of anything to keep anything in place!


The construction process was the same as all the other Truly Victorian bodices I've made; in fact, I have made this pattern before. I was confident in the fit, so I just went ahead and made the entire bodice. You can see in the back photo, under the left arm, that there is a small amount of staining. I'm not sure what made it or where it came from, but it should get lost once I finish trimming it too.

The Challenge: #5 Bodice
Fabric: 100% Polyester, 100% Cotton for interlining, either 100% cotton or a cotton/poly blend for lining
Pattern: Truly Victorian #416 1875 Ballgown Bodice
Year: 1875
Notions: thread, vintage buttons, plastic boning
How historically accurate is it?: The shape is, but that's about it lol
Hours to complete: 20-ish based on previous bodice constructions
First worn: Not yet
Total cost: Minimal; probably around $10. Everything was from the stash :)


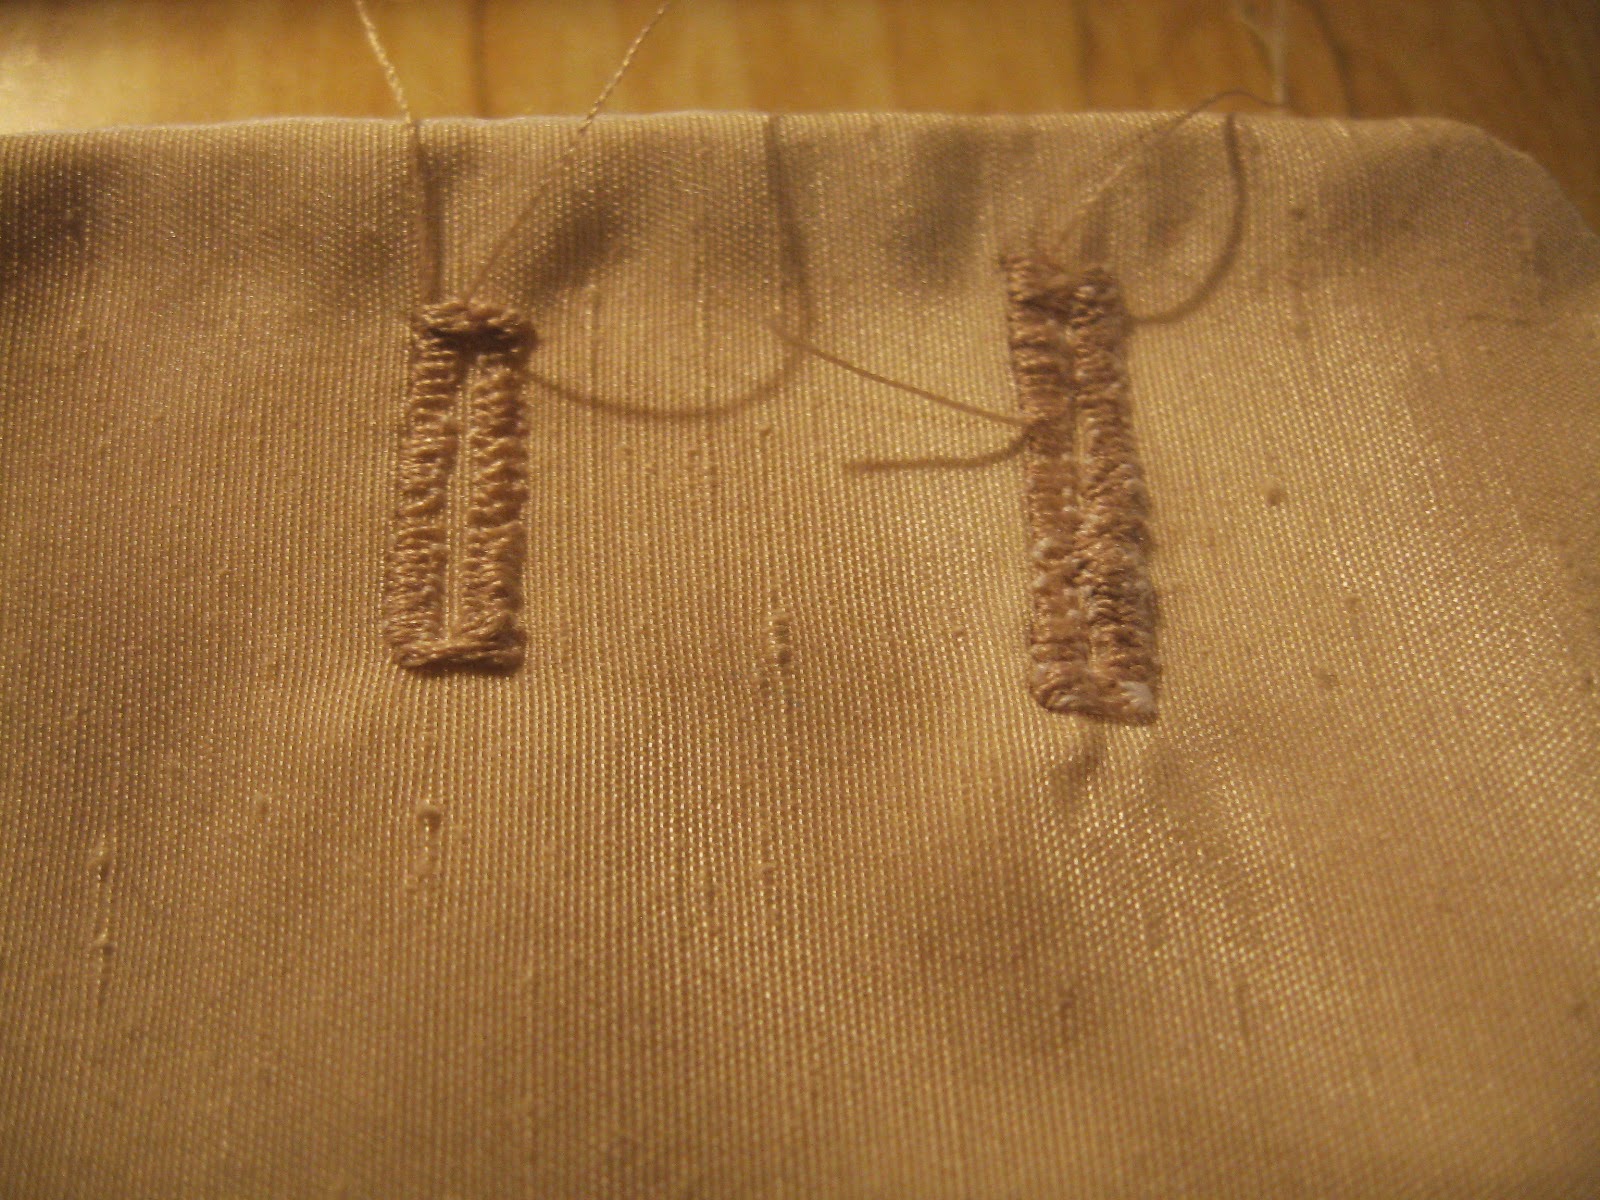
Setting up the buttonholes.

Uh oh, one of these things is not like the other...
(It got ripped out and re-sewn.)

A brave solider died for the cause!
Amazingly, I didn't break the needle on it!

Tuesday, March 11, 2014

HSF '14: #5: Bodice: Inspiration and Progress

With just a few days left before the next HSF challenge is due, I thought I would share some of my processes and inspirations.

For this particular challenge, I had the most perfectest item in mind to make. I spoke about it in last year's #10: Literary inspiration post, which was more side-related to that project. To recap, I was reading Gail Carriger's Parasol Protectorate series, and in Soulless, Alexia went out for an evening in a cream ballgown with raspberry trim. As I was in the middle of constructing a cream-coloured dress and had planned for raspberry accents when I had time, this was very fortuitous, as it gave me another option to make for the skirts.

One reason that I am enjoying participating in the HSF so much is that it gives me focus. I'm one of those people who works much better with deadlines, and I think it is great to be working on projects even when I don't have a particular NEED for those projects. I usually end up frantically sewing late into the night and waking up early to finish a costume, usually to just a wearable state (most of my skirts don't have closures, for example; they all close with safety pins). It's nice to work with a deadline but not have a specific need. This bodice challenge will be one that I likely won't 100% finish it (I'll consider it a win if I can get it to "wearable"; it definitely won't be trimmed!) but it will be a lot easier to complete it when I do need it with most of the work done already.


Photo by A. Yoner.
Big Valley, AB, Canada

In 2011, when I made the original outfit, I ended up making a favourite, Truly Victorian's 1884 French Vest Bodice. It was another event that I was frantically sewing for - I had spent the day before hand-sewing a hat and by the time I got home, my fingers were so sore that I put on 16 out of 20 buttons, and there was no way I was going to be able to stitch the pleats in place. I sewed the last of the buttons in the car, and the pleats were pinned into place. I've since sewn those down, but the skirts still lack closures...

And looking at it now, the fit is not great. I hadn't yet figured out that I needed to take out some inches in the chest, and at least part of it is the wrong size. I'm not sure yet if I'll ever take it apart and try to correct those issues. It's gonna be a lot of work. I have not worn it since 2012, and while I don't want to retire the outfit, I'm not sure when I'll wear it again.

Anyway, this challenge is PERFECT. I've been wanting to make a matching ballgown bodice since I made it. I didn't have a lot of fabric left - one piece 22" by 66", to be precise. I had JUST BARELY enough to make the main pieces. There is not enough left over to make sleeves, so this will be a sleeveless bodice.


That dark shadow in the corner is from the rather large amount of fabric my mum gave me :3

Of course, I had to second guess myself a lot first. Even though I'd planned this since the challenge was announced, at the start of the week I started wondering what else I could make that wouldn't take a lot of effort. When I made the original gown, I was timing myself on the construction so that I would have a better idea on the amount of time and effort spent. The skirts - the base, the pleated ruffle, and the overskirt - all took less time than one bodice. The French vest bodice was about 20 hours of work; that's a lot to spend on something, even over a couple weeks. But I was really stuck on the idea of "bodice", and after considering and rejecting several ideas, I decided that this one really was the one that needed to happen.

It took a little Tetris-ing, but I got all of the main pieces laid out. Sweeeet. This pattern has the corrected chest, and I also made changes to the armhole. My first ballgown bodice, in tangerine taffeta, did not have the armhole corrected and I find it sits somewhat oddly on my shoulders, mainly that it doesn't. It should hopefully be good now. I am confident enough in the pattern to just jump in with both feet. I have the outer layers basted and constructed and boned; now I just need to decide what to line it with :)


Mum... can I start pulling out all those pins you just put in?

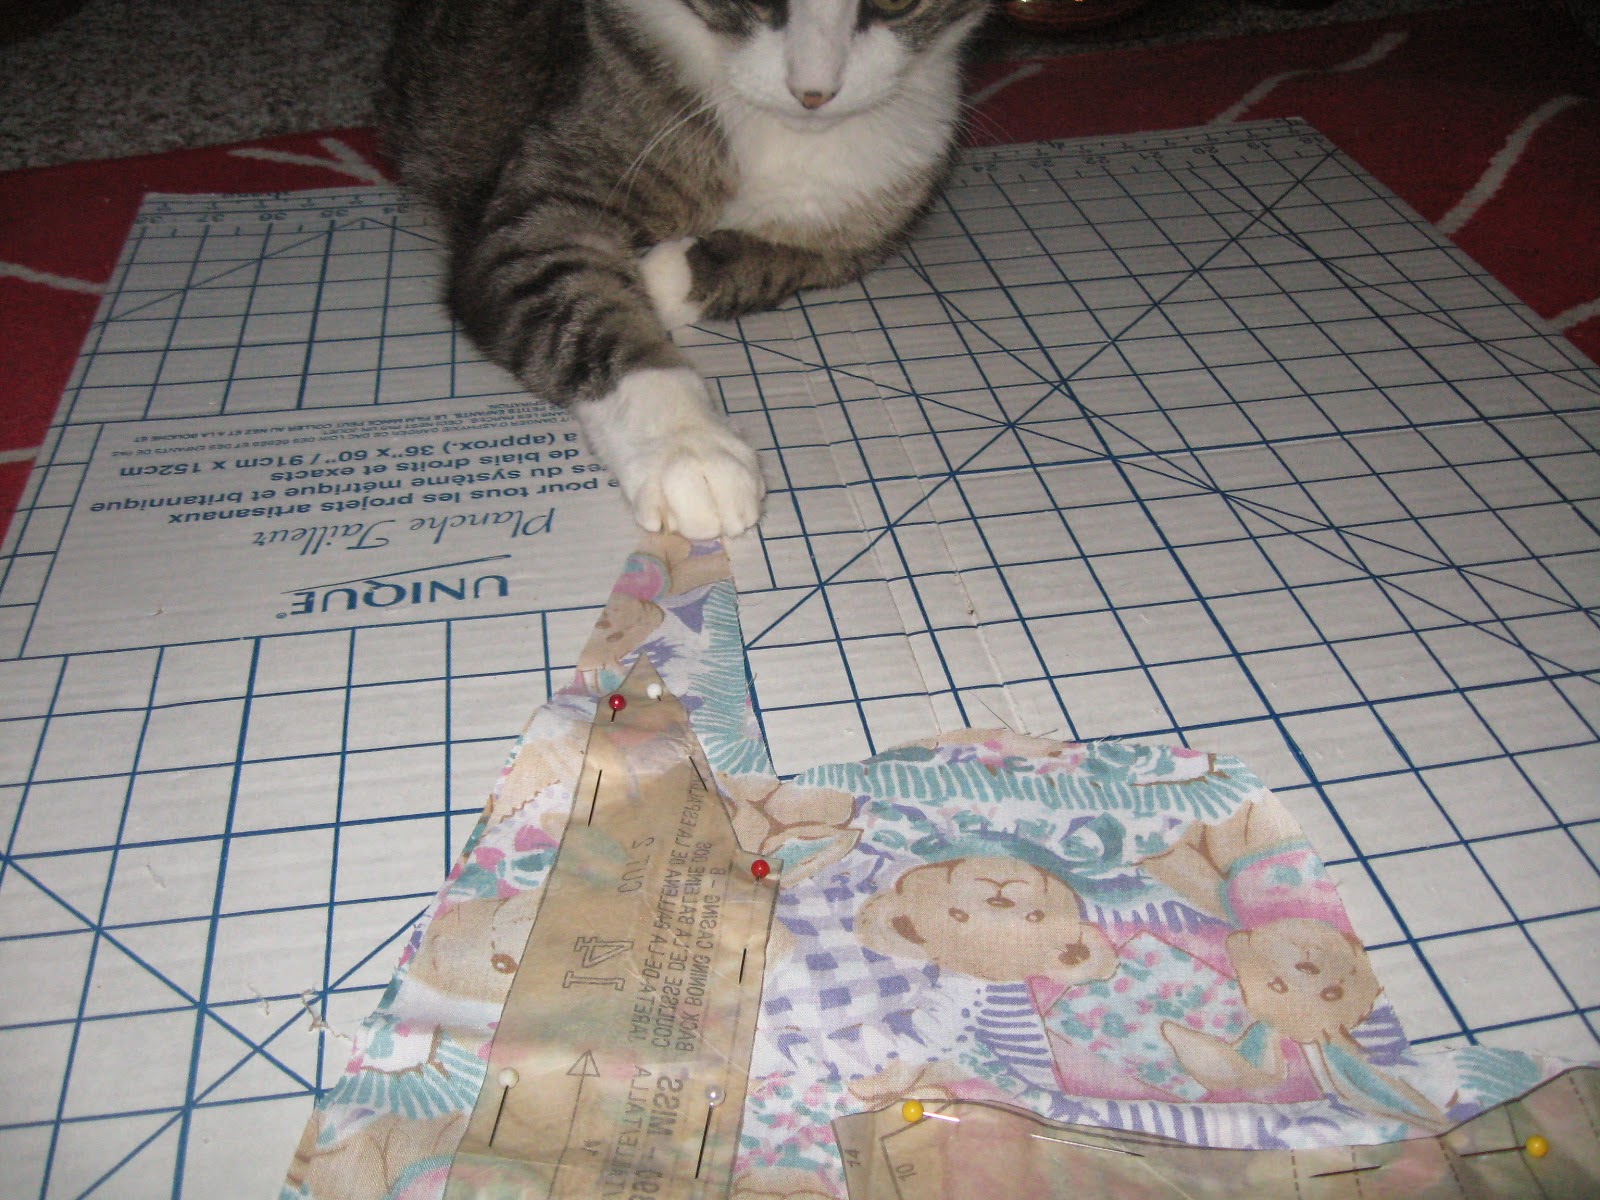
And after I had laid out my fashion fabric, I discovered something. I always thought I had just managed to drop an unusual amount of pins, but it turns out that if I leave the pin dish on the floor, my cat will steal pins out of it and then chase them around a bit. I think he likes the way the pin causes the ball to skitter unevenly. So I've been good about picking it up once I'm done with it. After I'd pinned out the fashion fabric, I left it on the floor to retrieve a drink, and turned back to find him pulling pins out of the fabric! He pulled out half a dozen, just like that! He's thankfully shown no interest in actually eating them, just pulling them out and chasing them! What a silly kitty!

Wednesday, March 5, 2014

HSF'14: #4 Under It All: A 1700s Chemise


There really isn't a lot to say about this, so here it is :) I picked up the fabric right before I visited the Harry Potter Exhibition, so I carried 5yds of linen around in my bag for several hours. Turns out 5 yards of 3.5oz linen doesn't weigh a whole lot as I barely noticed the extra weight lol. It was washed the next day, and I began work on the shift the day after (ahhh long weekends!) and finished most of it. But then the next day was the follow-up for the bedbugs so everything got packed away again, and then I was hit with my seasonal depression. It took a week and a half more before I could finally convince myself to put all the boxes away, and only then did I finish the shift. Luckily, I pushed hard enough on the first day that all I had left to do was trim and fell the side and sleeve seams, and hem it. That was it. It was a very quick garment to make, easily do-able in one day (by machine, anyway). The only thing I would change is perhaps to make the neckline a liiiittle bit narrower; I had not planned to put a drawstring into it, but once I had it ready to try on, it was quickly apparent that it was necessary.

The Challenge: #4 Under It All
Fabric: 100% Linen
Pattern: Drafted from MaraRiley.net
Year: 1760s-1780s
Notions: Thread and some ribbon
How historically accurate is it?* In materials and general shape and patterning Poly thread and poly ribbon, machine stitched.
Hours to complete: 8-10.
First worn: Not yet.
Total cost: $15

Further resources:

Construction from marquise.de
Research and construction from SharonBurnston.com

*I decided that I found this category the hardest to fill out, as what makes something historically accurate to me may not qualify sufficiently for someone else, and I feel it is a little arbitrary for that reason. No one is grading me on these items, so I have decided to avoid a "grade" and will focus instead on the elements that make it historical.

1770's Riding Habit

I'm not precisely sure when I decided that I needed a riding habit, but once the idea was there, it needed to happen. It's been on ...